Day 1 Chemotherapy

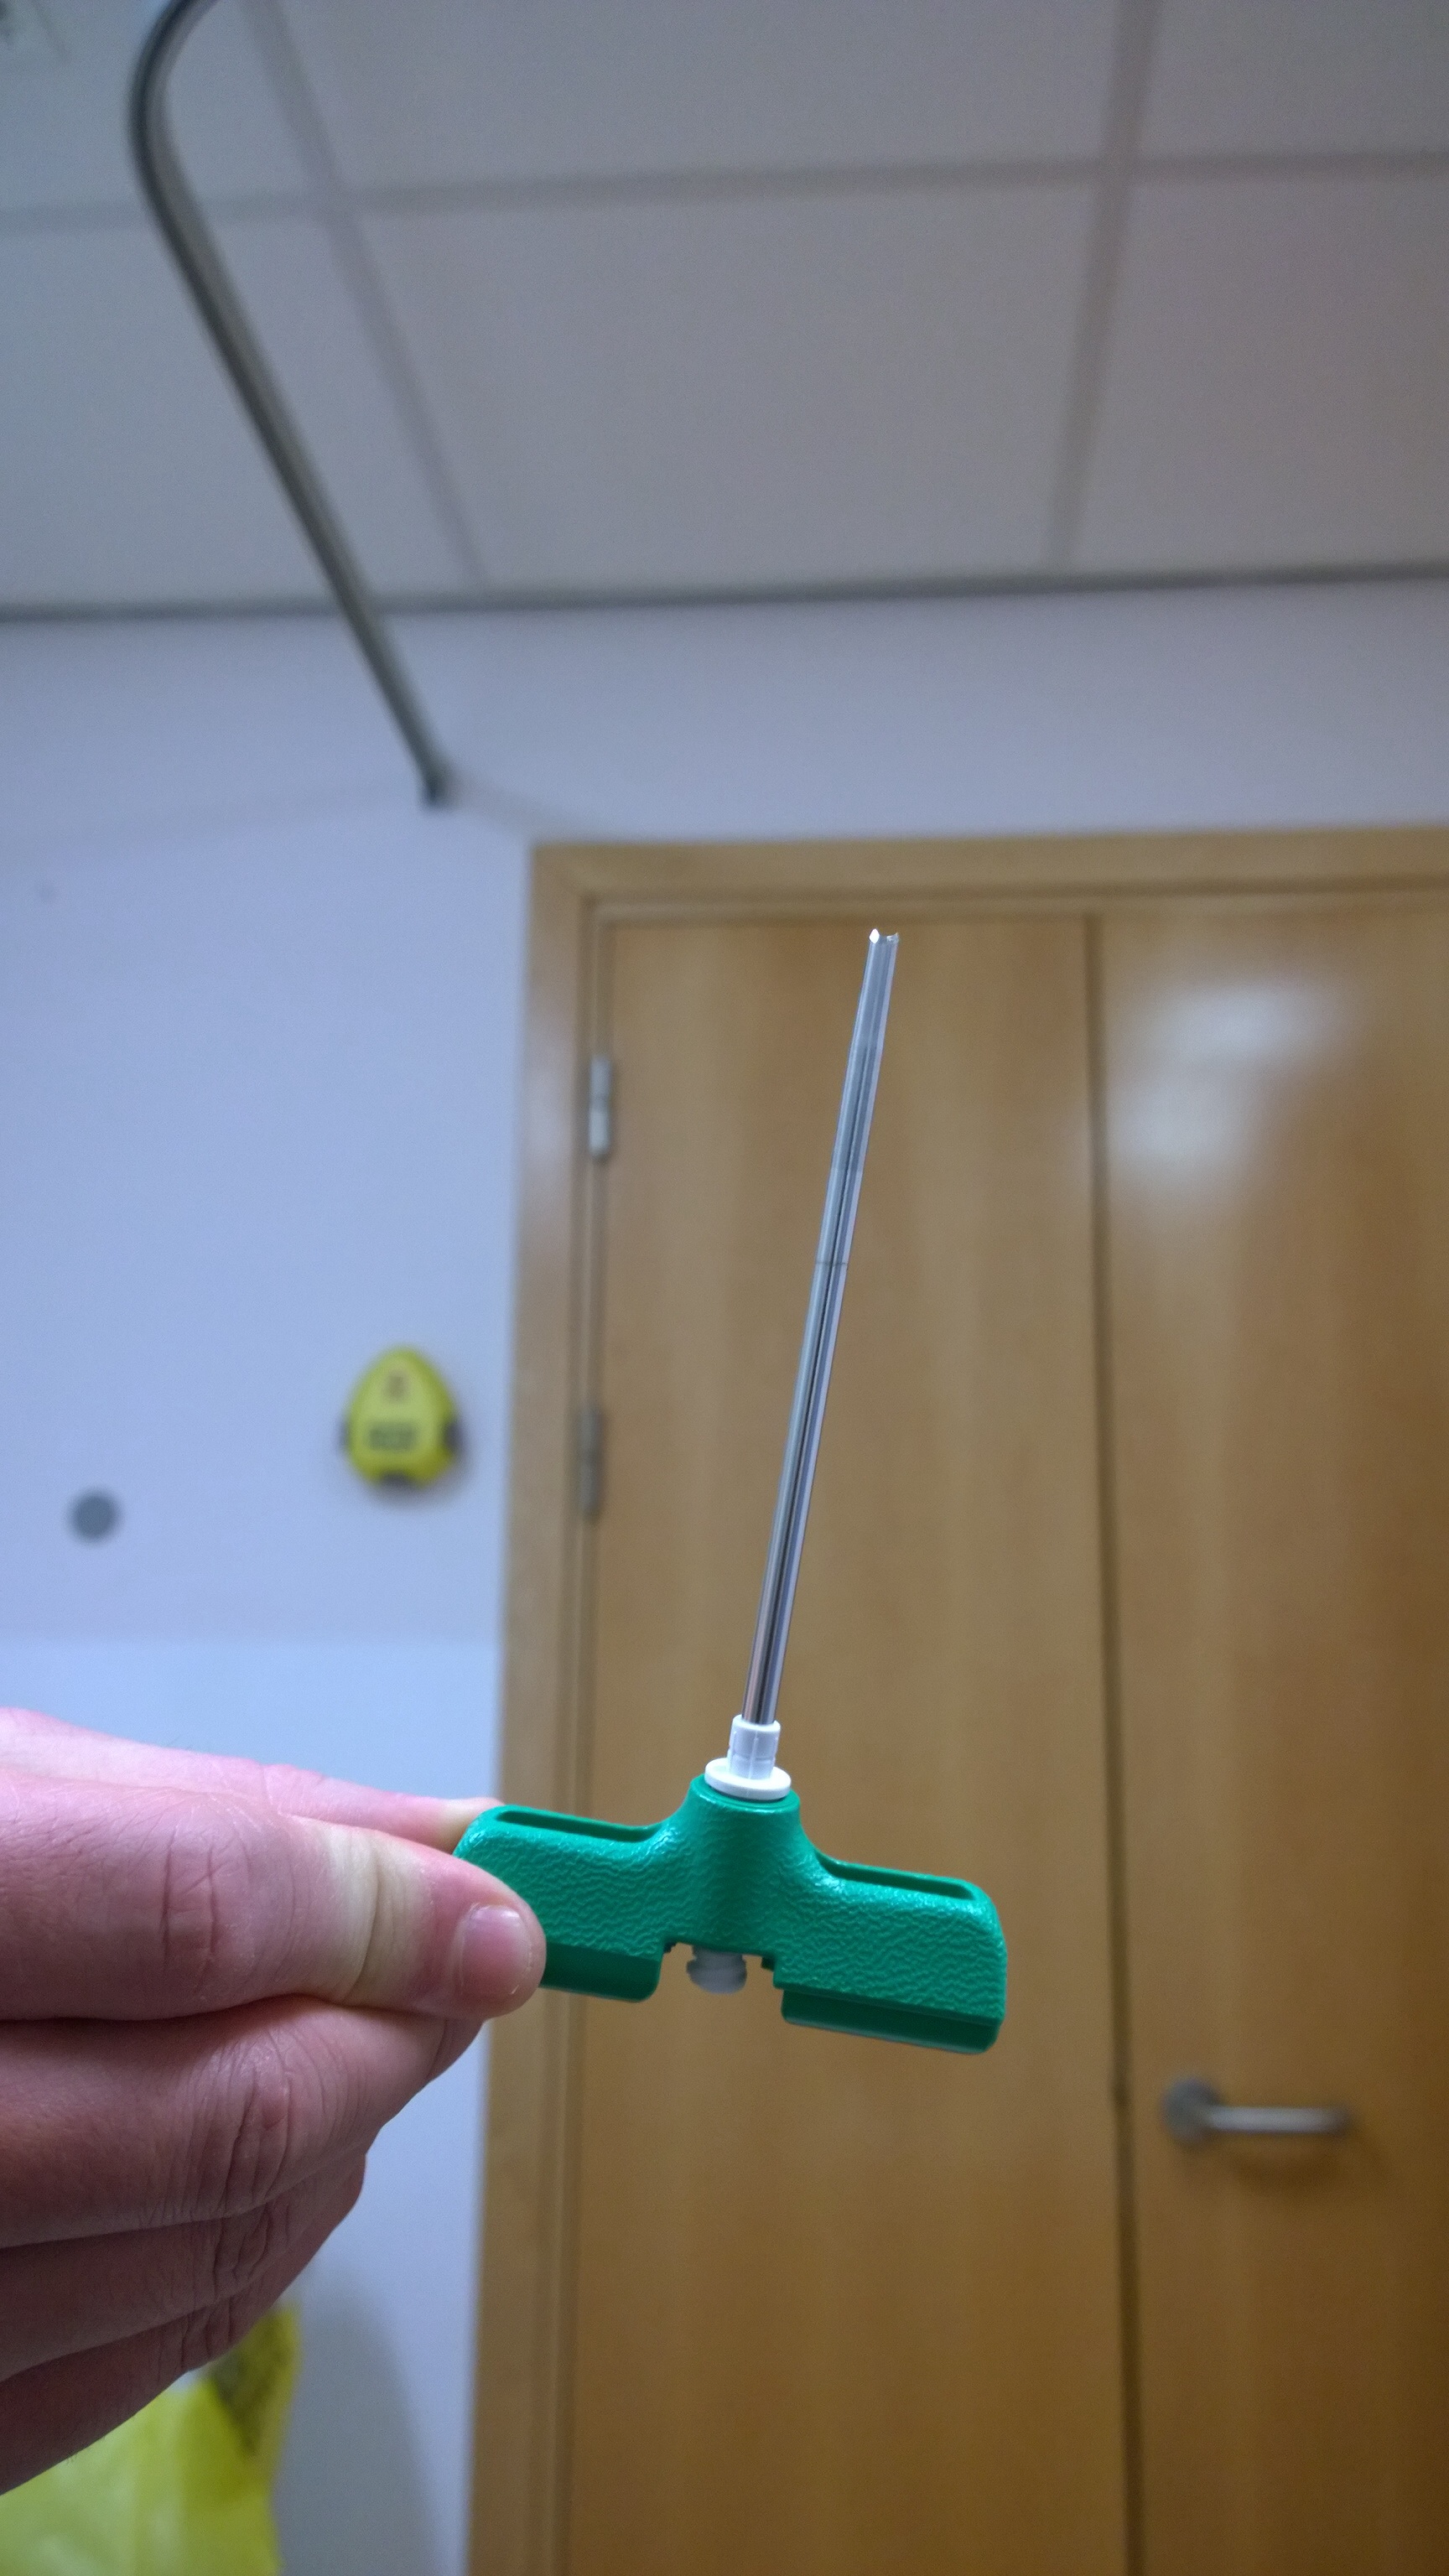
Today has been a busy day, I’ve had a bone marrow biopsy, a PICC line inserted (both of which I’ll talk about in further detail under the “procedures” section) and I’ve started the first days treatment.

Over the last couple of days, I’ve had a supply of saline solution, to keep my bladder clear. I’ve had steroids to keep me alert and to restrict the tumour growth a little (this has had the effect of making me feel quite good) and I’ve also had a couple of drugs to protect my stomach lining (all in tablet form).

Due to the size and fast growing (and therefore fast shrinking) nature of this tumour, there are concerns that my bladder and kidneys will not be able to keep up, so I’ve also been given an intravenous drug called rasburicase to help my bladder break down the dead cells to release into my urine.

How does Chemotherapy Work?

Obviously this is a very complex topic, but out of interest, I’ve been talking to the doctors here to learn as much as I can. As I understand, the range of chemicals introduced attack cells as they divide, the more quickly and frequently a cell divides, the more likely they are to be affected by the drug. In our bodies we have some cells that divide and replenish regularly (like your hair follicles) and some which divide much more slowly. Cancer cells tend to divide more quickly, which gives the chemicals a chance to attack and kill these cells in order to break down the tumour. During this time, good cells are also killed which leads to side effects such as hair loss. One other fast growing cell  structure is the gut lining and mouth, so I expect to have a sore mouth and bowels as the treatment starts.

During this time, after the first round of treatment, my immune system will be very low. In fact they expect me to have 0% white blood cells and very low platelet count. They call this neutropenia. 

Because of this, I have to be very careful about hygiene and washing so as to minimise risk of infection. I have single use toothbrushes, regular mouthwashes, and visitors must wear aprons and gloves.

What are the chemicals and what are they like?

Due to a delay with the PICC line, they changed the schedule slightly but the main chemicals used are as follows:

Cyclophosphamide

this lasted for just over an hour, I had some friends over so It seemed like no time at all. It’s mixed with saline solution so is a clear liquid. Due to the location of the PICC line, there’s no feeling or sensation of it going in, and I feel surprisingly well after this treatment.

Doxorubicin

The chemical in this bag was smaller and lasting about 30 minutes. Again clear in colour. I was starting to feel a little light headed at this stage, with a strange taste in my mouth, but nothing serious.

Vincristine

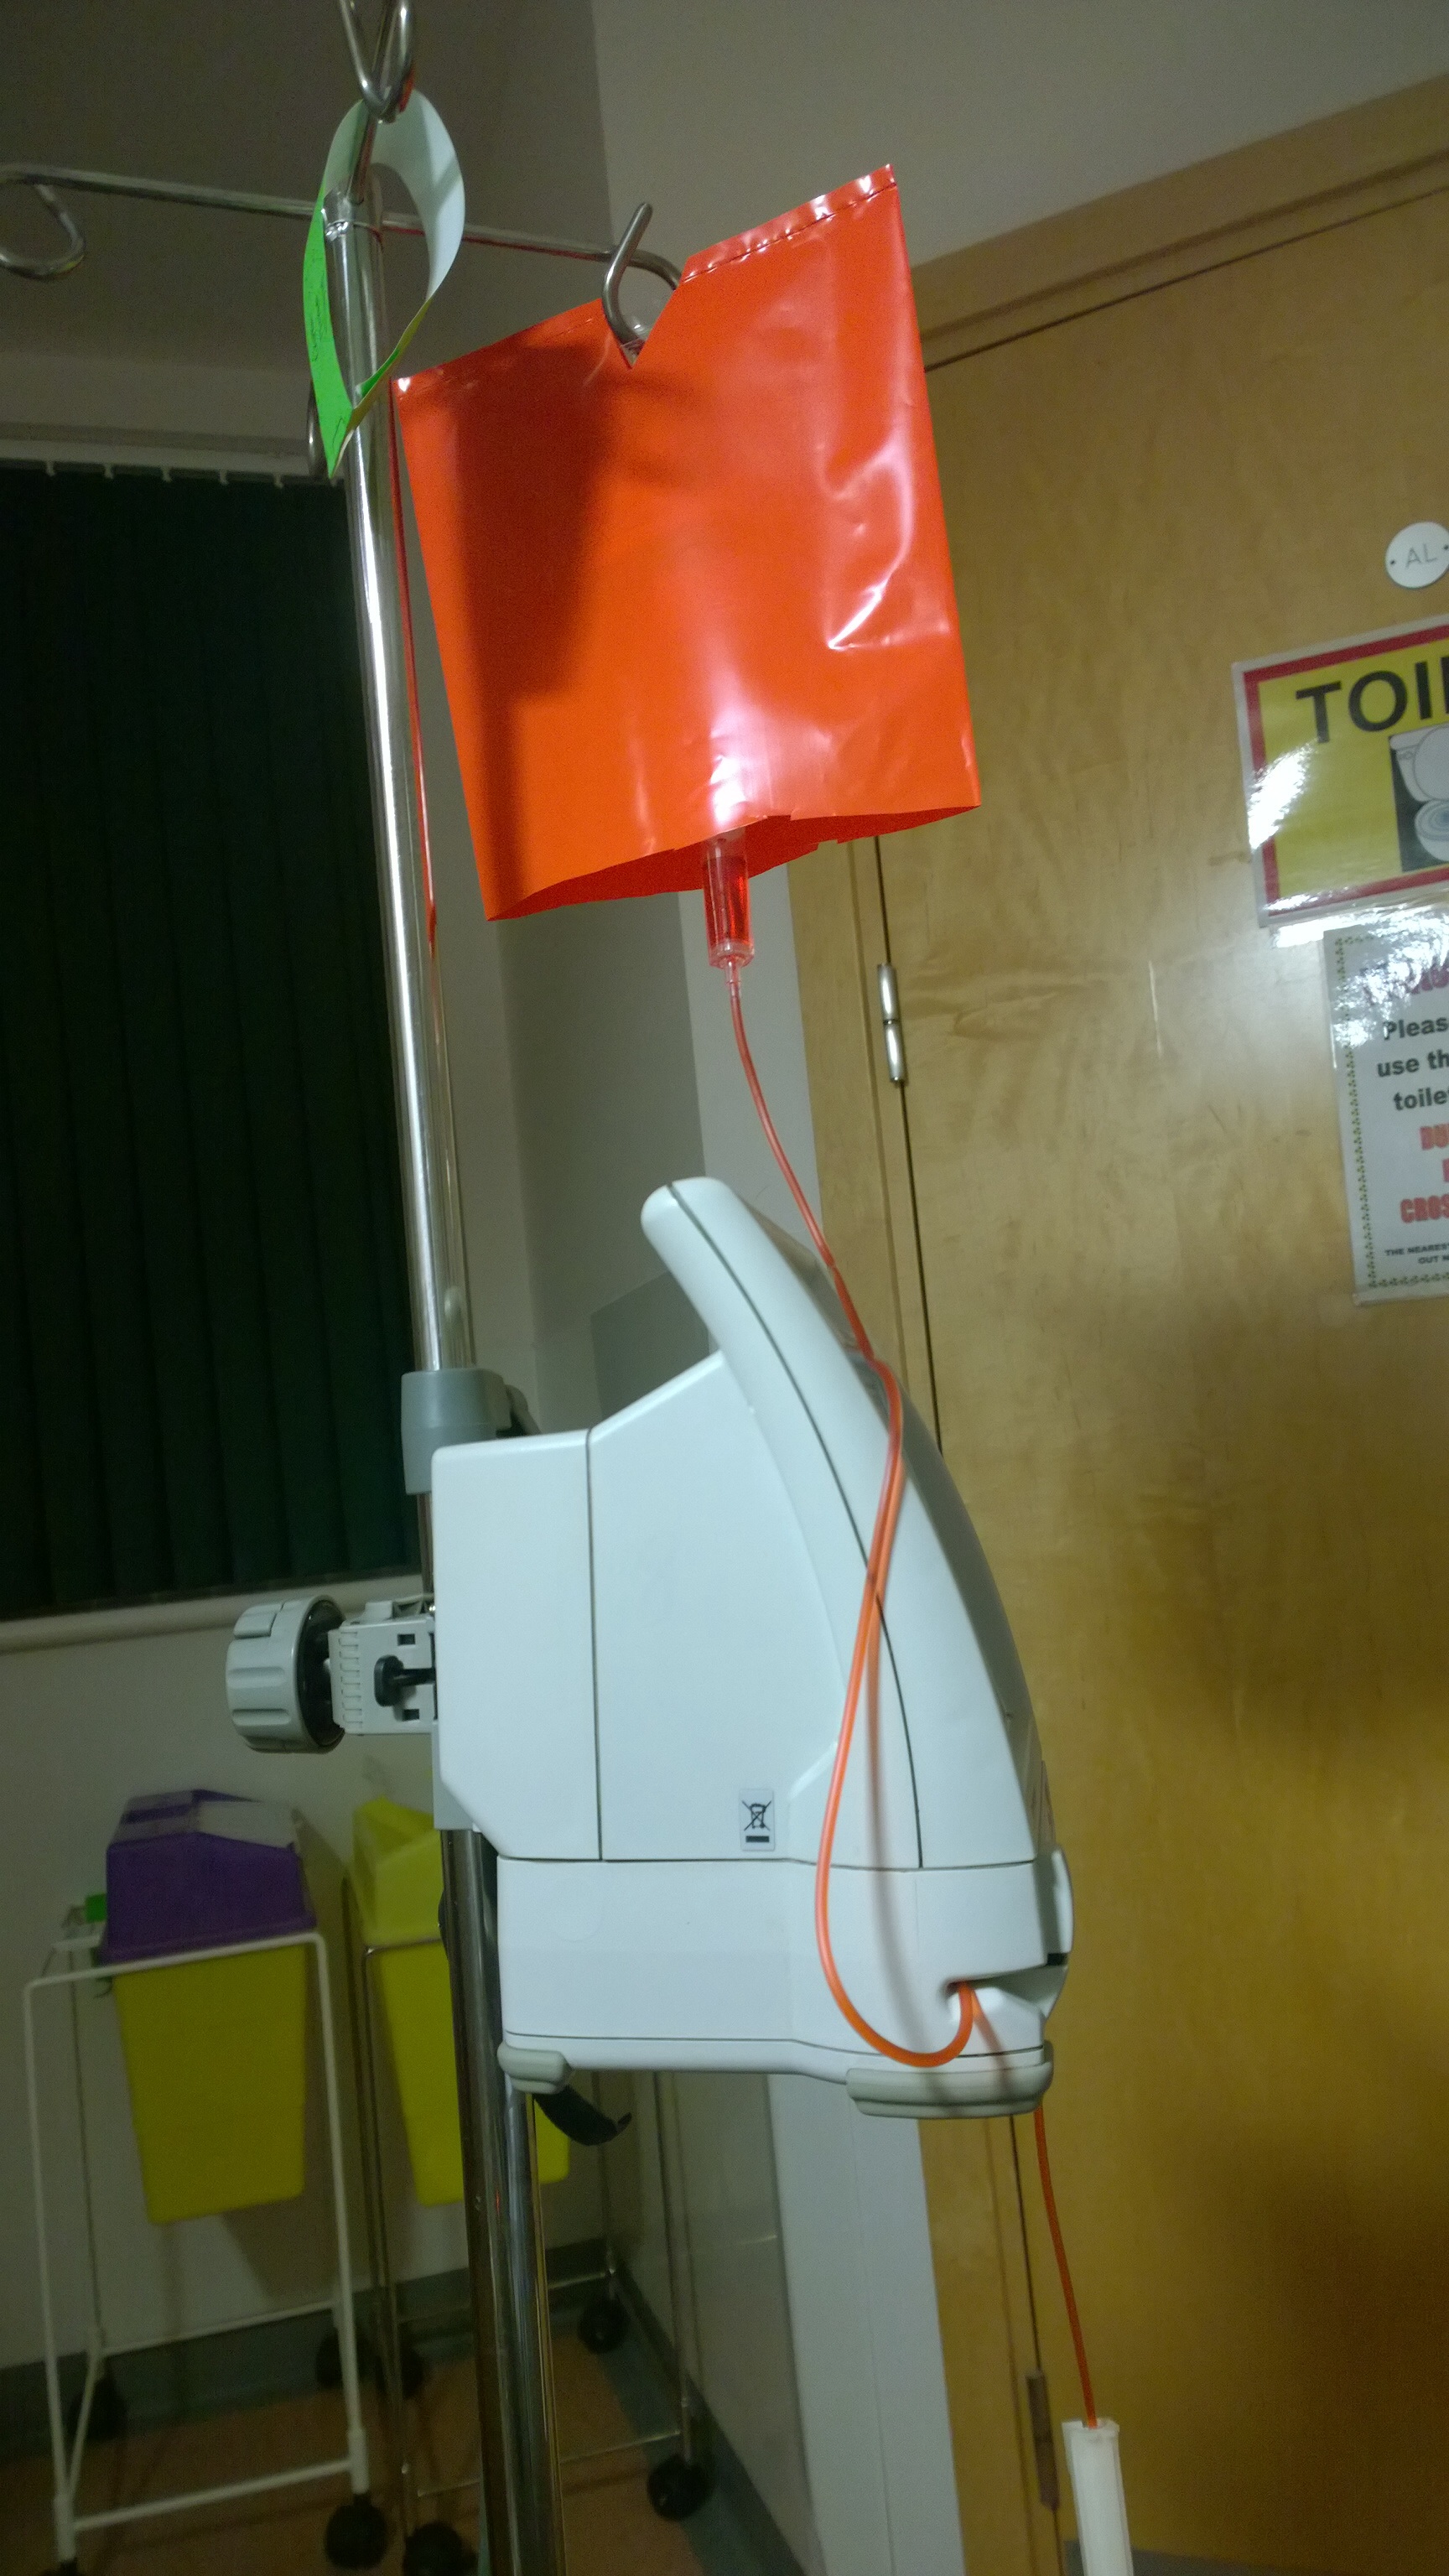
This third chemical is red in colour and in the smaller 30 minute bag. I was told that this could colour my urine so not to worry!

Each chemical was followed by a saline flush, as due to the nature of the PICC line, the nurses minimise the amount of times that the drip is disconnected at my end. All handling is done with specially packed gloves.

As a safety measure all drugs are double checked by two nurses to make sure the right person gets the right drugs and the outer container is placed over the drip so that it is instantly visible that the drip is a chemotherapy drug.

Chemotherapy drip
Chemotherapy drip

Procedures – Bone Marrow Biopsy

Today I’ve had a bone marrow biopsy, I was a little nervous about this procedure as it’s fairly invasive in it’s nature and I expected some pain or discomfort. I’m fairly slim (apart from the growth in my bowel which makes me look like I have a beer belly!) which means that the bone in my hip where they have taken the sample is fairly close to the surface.

The reason for taking this sample is that as my form of cancer is related to white blood cells, there is a chance that the bone marrow has been infected. From this sample, they can asses how far these cells have migrated.

The nurses and Doctors were fairly reassuring and helped to explain each stage, but I thought I’d explain the procedure from my point of view. I should also add that experience will be different for different people so please talk to your specialist if you have any concerns.

step 1 – anaesthetic.

The anaesthetic is applied first to numb the area and the soft tissues that the biopsy needles will be passing through.

obviously the needle is fairly large as they need to insert one needle to puncture the bone then another to collect the sample. The anaesthetic is applied using a needle which gives a sharp scratch. Due to the amount of tissue between the skin surface and the bone, this needle is quite long and as it went in and as the liquid was injected I found this a little uncomfortable, but this discomfort was probably more tolerable than I would expect from a dentist.

step 2 – bone marrow aspirate

this first step is to extract a sample of fluid from the bone marrow. From me they took 2 vials (the same as for blood tests). The sample is taken with a long needle which passes straight into your bone. Being a long distance runner, my bones are fairly hard which means the needle took a lot of effort to puncture the bone. The first part as it passed through the tissue was fairly pain free and when it reached the bone the discomfort was tolerable. Rather than a stinging sensation, it felt more like a numb throb as I felt the pressure on my hip and the liquid drain. The nurse explained that sometimes as the pressure is released there can be a bit of discomfort, which I experienced as a numb throbbing perhaps warm sensation.

at this point, the nurse also prepared some slides so that the liquid can be assessed under the microscope. What he’s looking for here is lumps of bone marrow which can sometimes be mixed in with the blood.

Slides, samples and biopsy.

step 3 – trephine biopsy of bone marrow

This final stage is to collect a plug of bone marrow for further testing. As mentioned before, my bones are fairly hard which means that this process was a little uncomfortable for me. Sometimes this can be performed with a small hand drill but talking to the nurse, he preferred to make the cut by hand as the drill can be a little too rough and also can give poor samples. This next needle is slightly larger than the first and is pushed through the skin using a slight and gentle turning motion to get through to the bone. The bone is then cut by turning the needle and pushing at the same time to collect the sample. The sample is taken through the tube and pulled out in one piece as a plug. (A bit like uncorking a bottle of wine!) From my experience, although a little uncomfortable, and lasting slightly longer, this was no more unpleasant than the first procedure. And I will honestly say that having teeth removed is much more uncomfortable.

Biopsy needle
Biopsy needle

step 4 – dressing and healing

Once complete, the nurse applied pressure to stop the bleeding and applied a dressing. I was advised to sit for a few minutes to assist with the pressure. The procedure was performed about 2 hours ago as I write this and although I can feel that I have a wound, the pain is no more than a dull sensation in my hip and a bit of stinging on the skin, which could easily be where hairs are trapped in the dressing adhesive!

so in summary, the procedure is about 15-20 minutes long, and although uncomfortable, I will be much less nervous going into the second assessment after my first phase of Chemo.