Procedures- Tunnelled, Central Venous Catheter- Hickman Line

As already mentioned I had my Hickman line inserted on Friday, it wasn’t a lengthy procedure or in fact too painful, but it has made life in terms of blood samples and injections much more comfortable and convenient.

What is it?

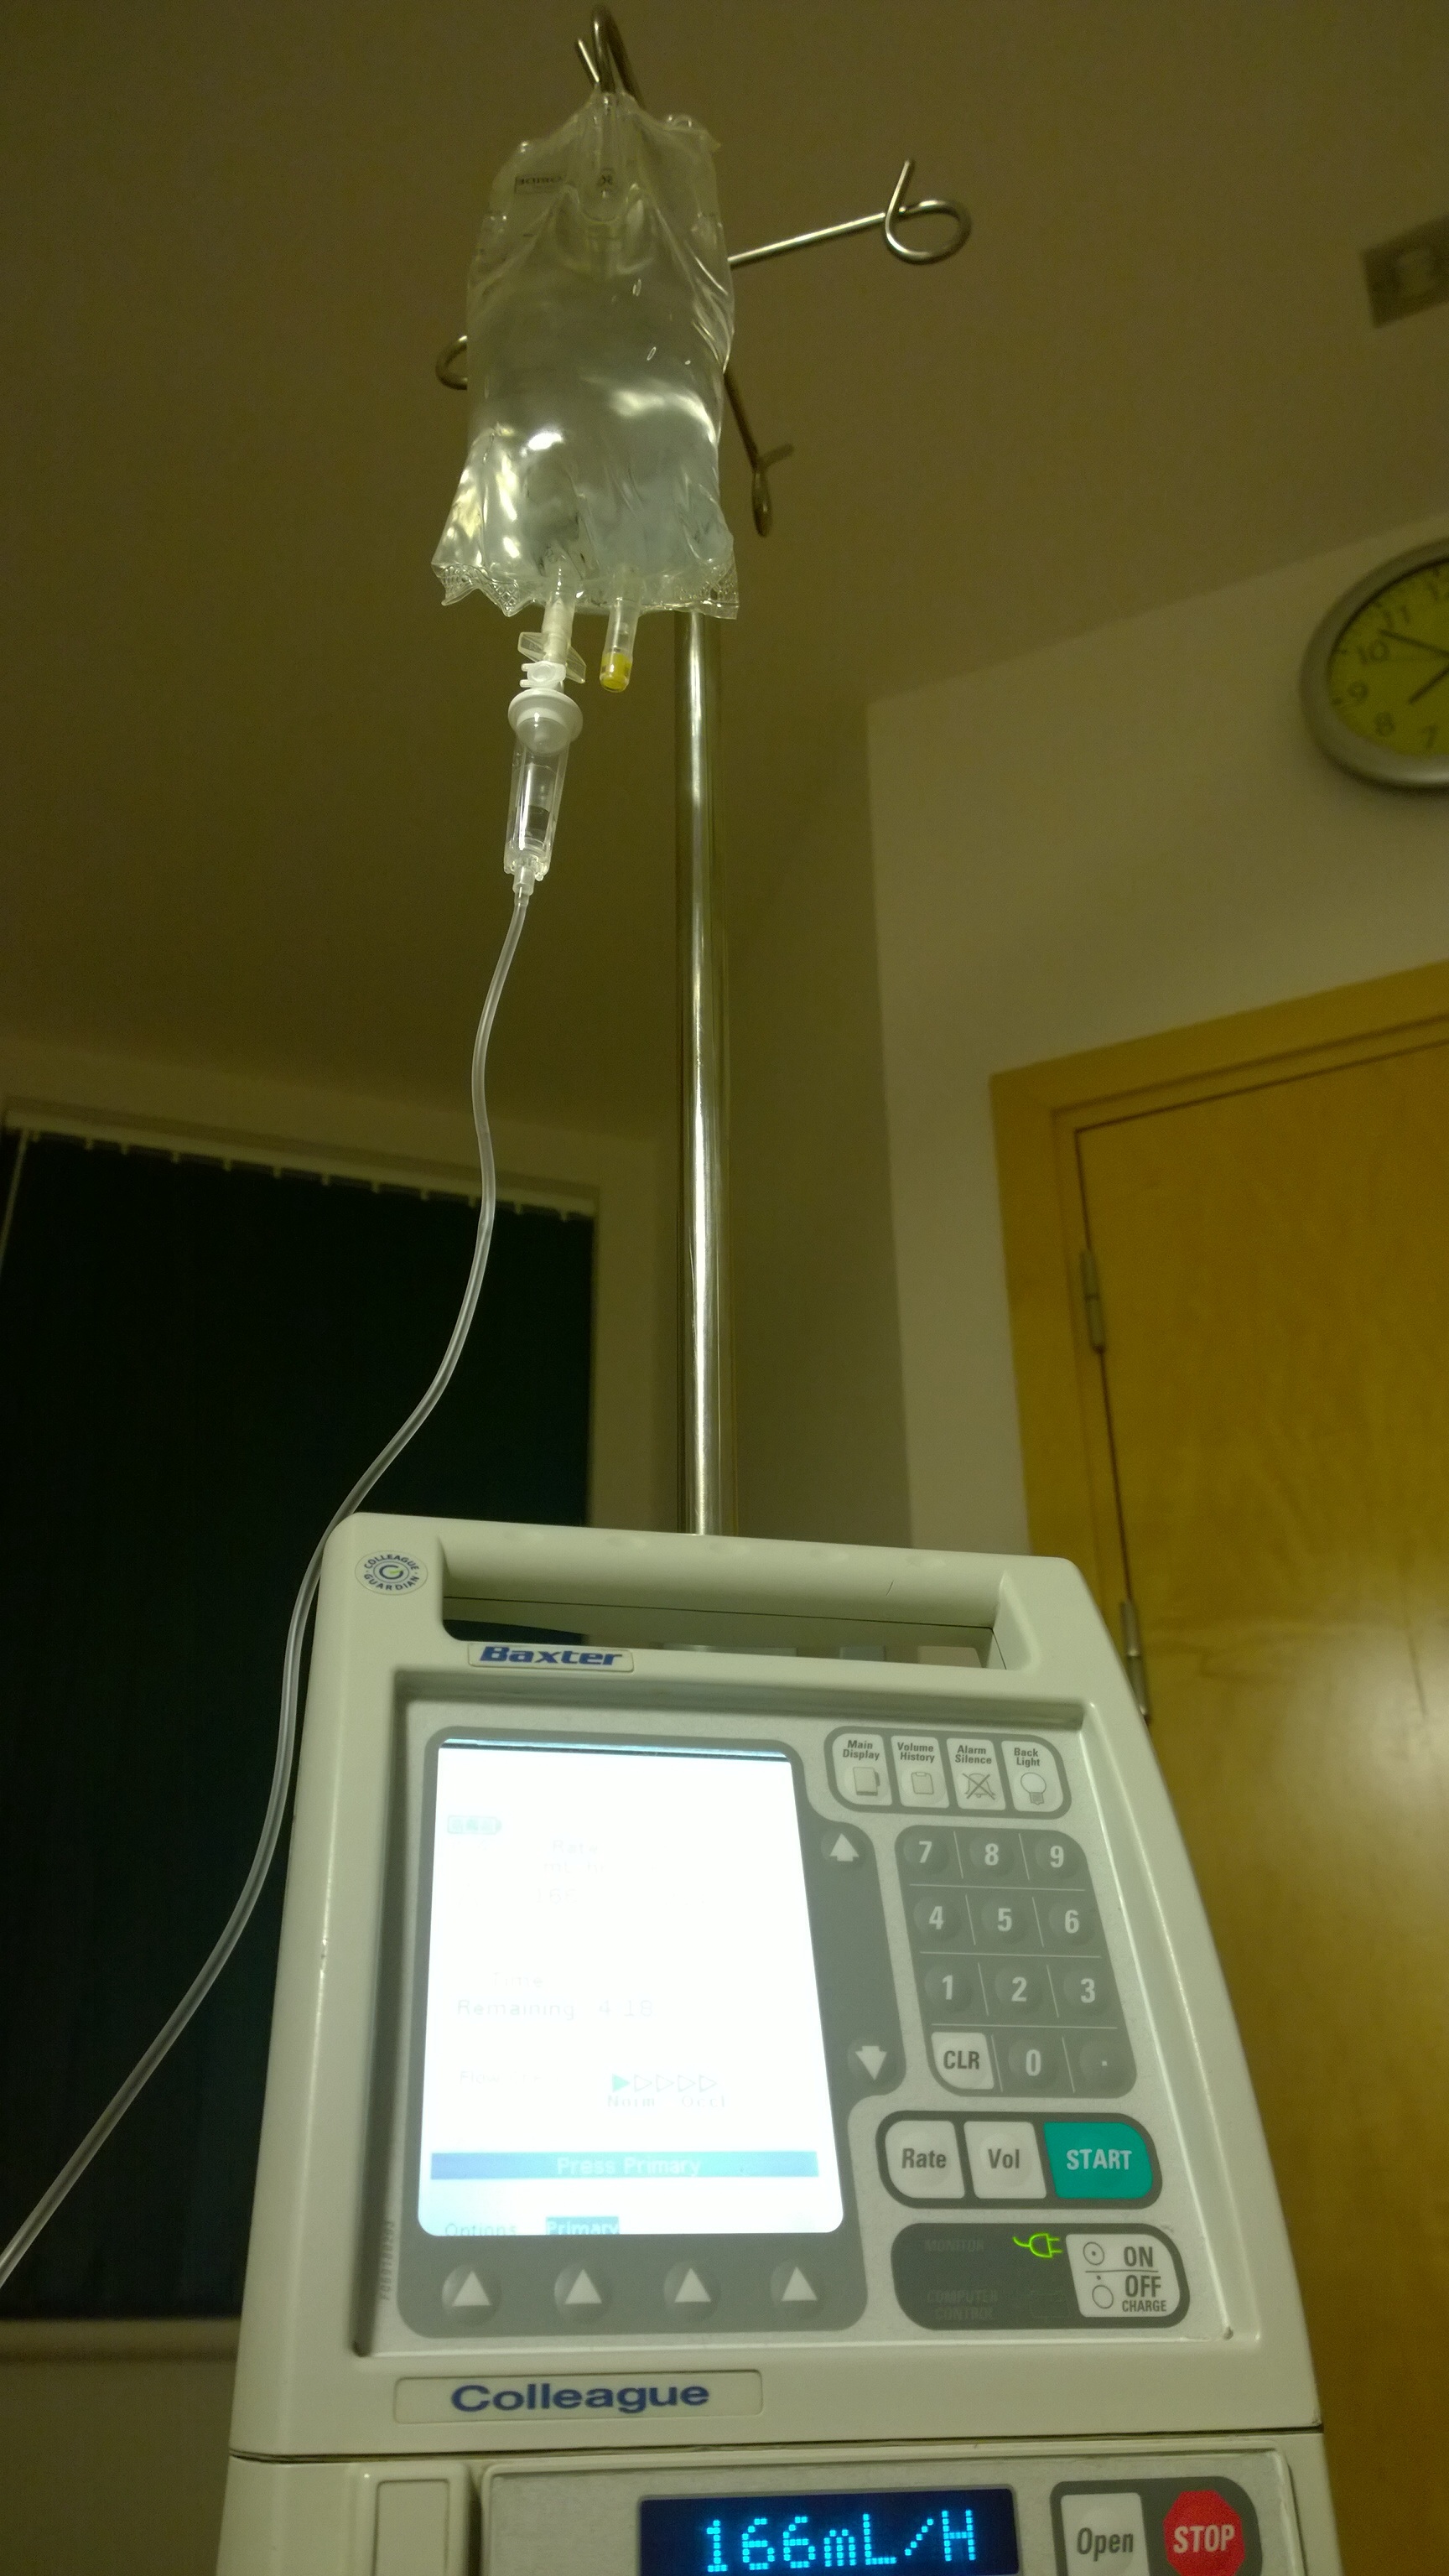
The main benefit of the Hickman line over the PICC line is that it has two separate lumens (valves) which means that treatment can be applied while at the same time blood tests can be taken. During my Methotrexate infusion, they could also apply saline solution at the same time to help support my bladder.

the main daily benefit for me is that the exit site is at my chest rather than my elbow which is better for both comfort and daily activities such as having a shower.

The Procedure.

Central Hickman Catheter

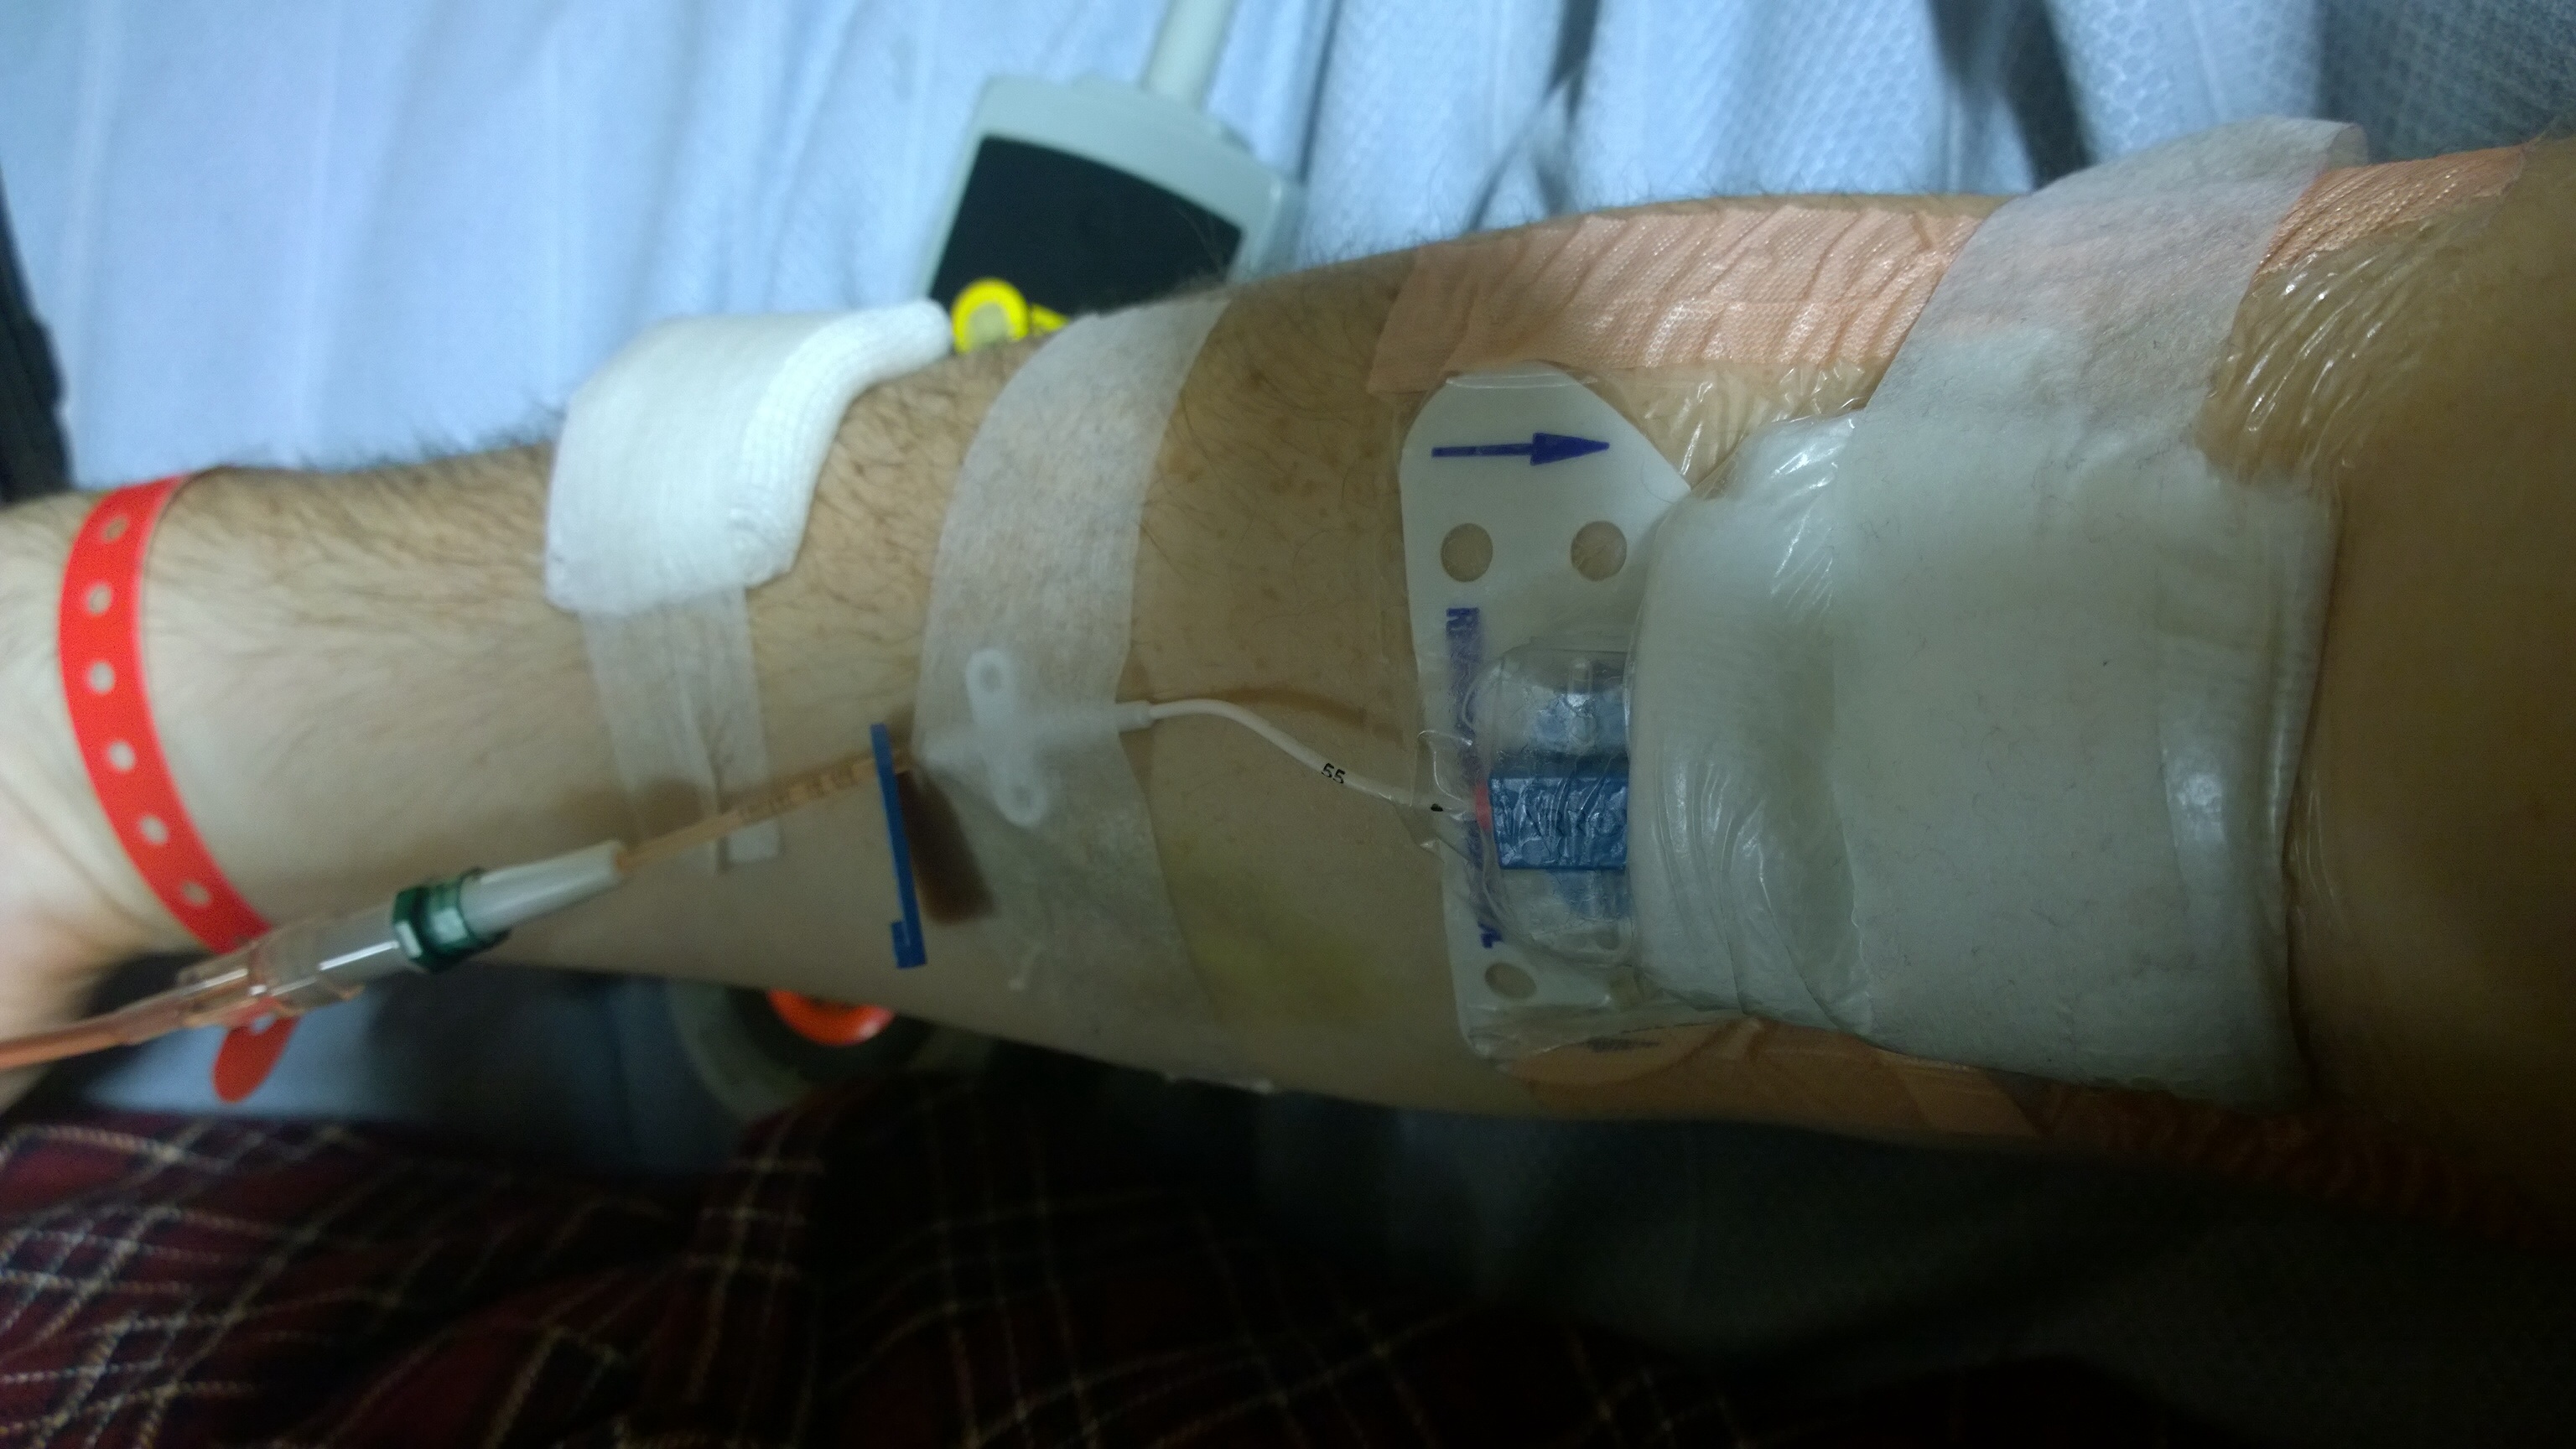
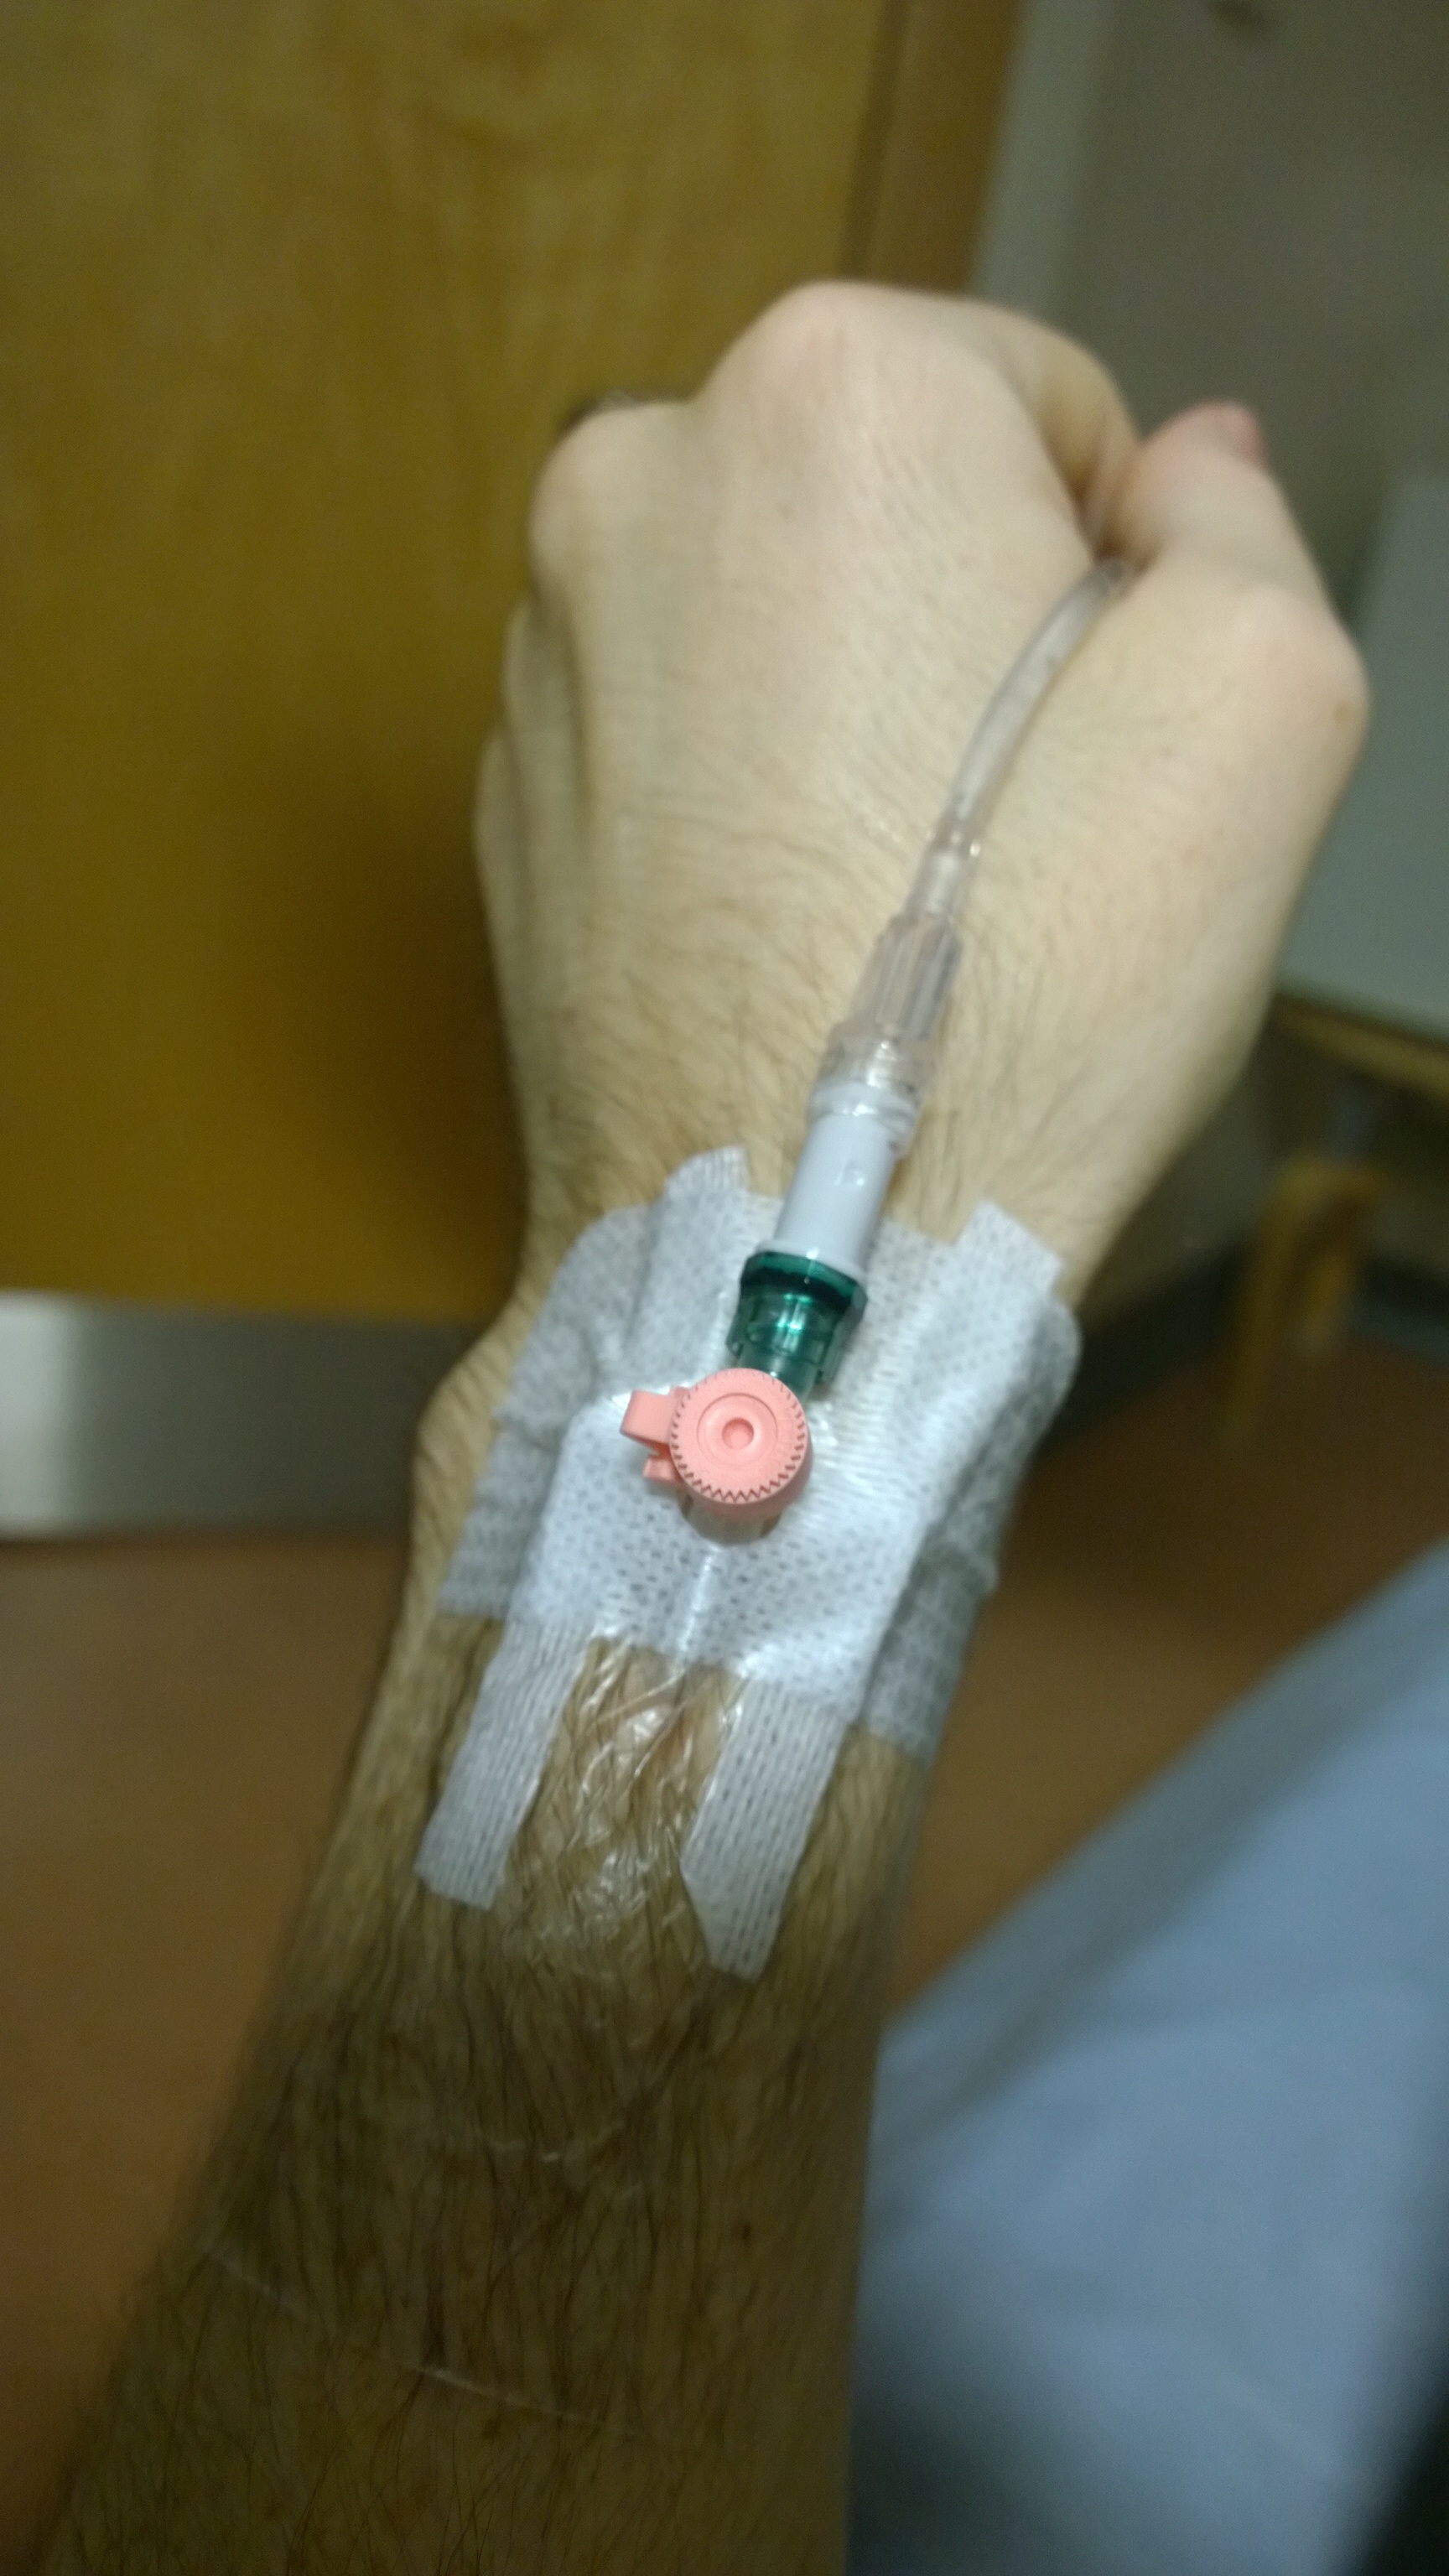
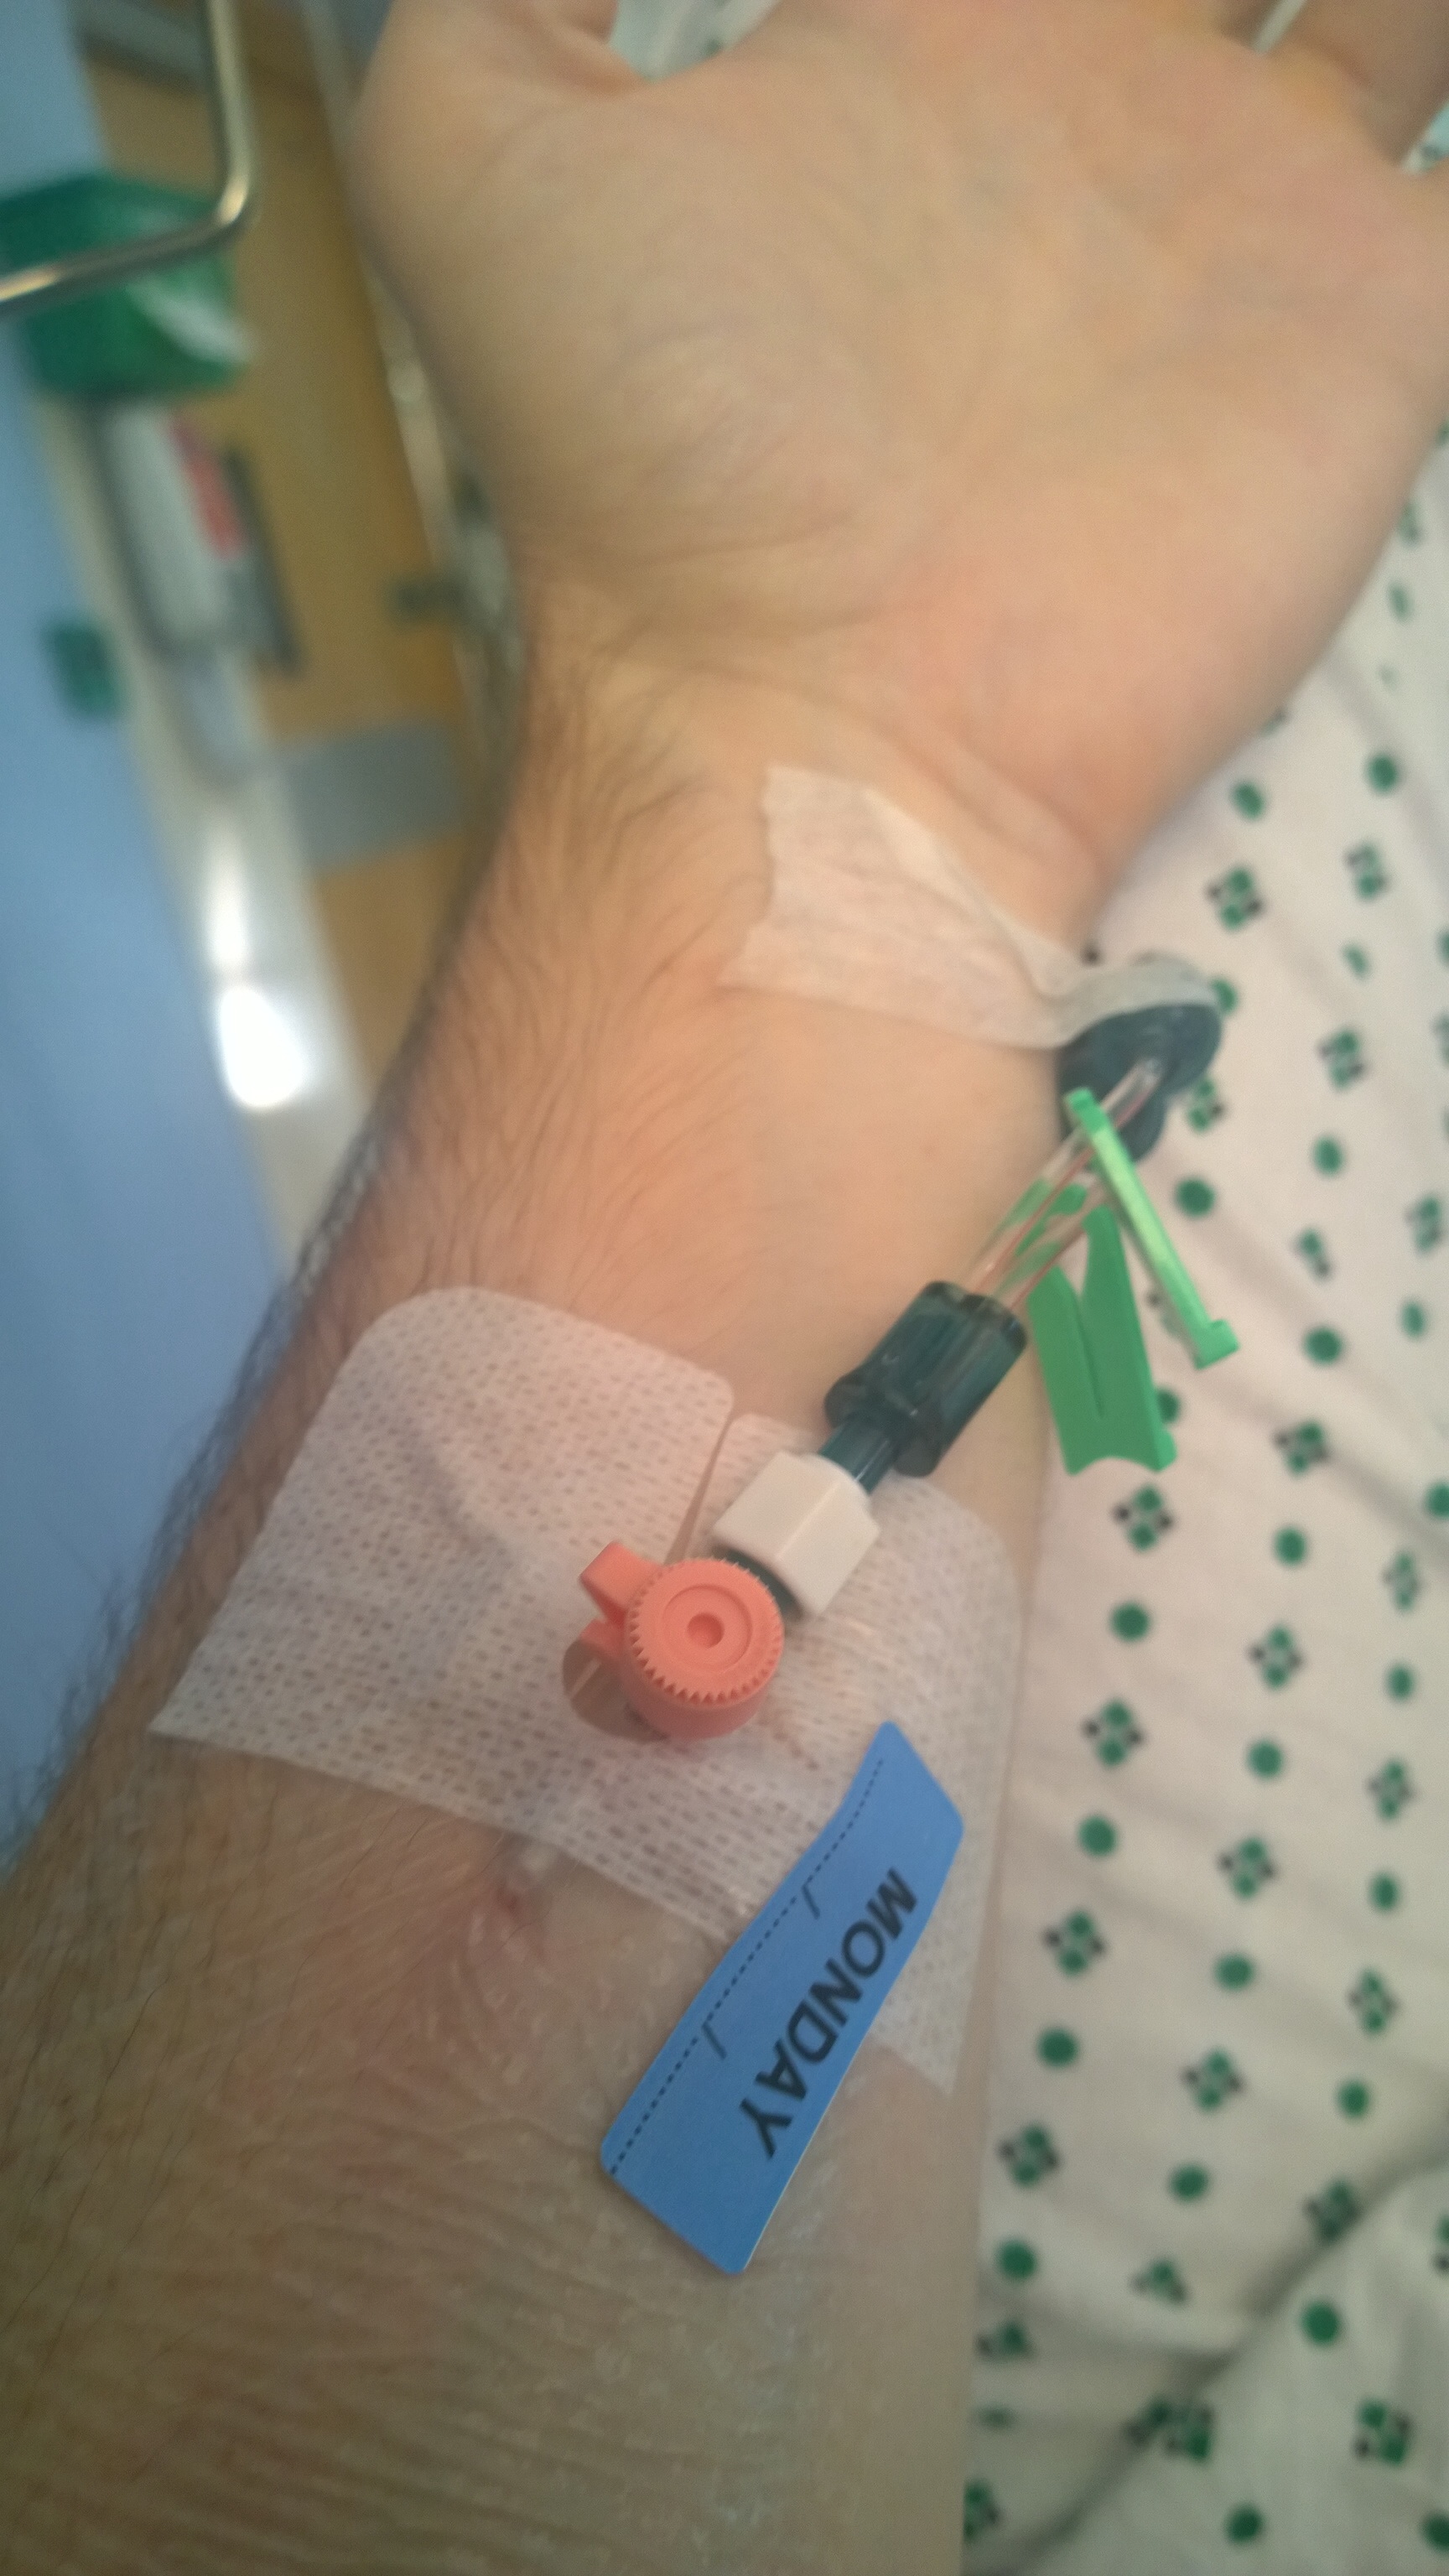
From about midnight on the night before I was told not to eat or drink in preparation for the procedure. I was taken through to the operating room and asked to lie on the bench. The anaesthetist started to shave my chest while her colleague inserted a catheter into my wrist. She cleaned the area and then applied 3 doses of anaesthetic in a triangle from my neck around the right side of my chest. As the anaesthetic started to react, they applied a mild sedative (to help relax me noting that I still had my severe headache) via the catheter, and prepared the area by applying shields taped to my chest and face so that I couldn’t see the operation (and presumably to collect blood spray). They started by making incisions to the top of my neck either side of my collar bone. She passed a needle through the opening and into a vein which passes from my neck down under my chest into my heart. A guide wire is passed through the needle and advanced into the vein. A vein dilator is then passed over the wire to hold the vein open and make a seal. At this point the performed an x-Ray to check the position. I was fairly drowsy at this point, but was aware of what was going on. The staff reassured me as I went, telling me when to expect tugging and pulling, and talked me through the steps. Next they made an incision into my chest and passed the line just under the surface of the skin up to the site of the guide wire. The line was pushed into position and the guide wire was removed. The pulling and tugging at this stage was fairly strong and although I could feel what was happening, there was no pain, it was just a tugging sensation. After a few minutes, the entry and exit sites were stitched closed and a dressing was applied. The anaesthetist instructed her colleague to reverse the effect of sedation and another fluid was applied to my catheter. I became much more lucid and awake at this point and I could feel my headache again. I was sent back to my bed for a short while. A few minutes later a porter arrived to take me for a chest X-ray. 30 minutes later the doctor confirmed the line was in the correct place and was ready to use. The whole process probably took an hour and I was surprised how quickly it was ready for use. I was expecting to feel pain as the anaesthetic wore off, but the pain was no greater than a small cut. My collar bone was a little swollen and was a little tender for the next couple of days and it’s taken me a while to get used to sleeping with the line in. The top stitches will come out tomorrow (after 5 days) which I’m looking forward to as they’re starting to rub a little. The stitch at the exit site will be removed after 2 weeks. I have also had a bit of an allergic reaction to the dressing which has made the area a little red and itchy, but this is manageable. Re-dressing tomorrow should help relieve this.

Sore Stitches
Sore Stitches

Lumbar puncture with Intrathecal injection

Yesterday, I had an intrathecal injection. I was expecting this to be quite painful and was a little apprehensive after the bone marrow sample. The main side effect for me (although I’m prone anyway) was a massive headache which knocked me out a bit, hence my tardiness in writing. Feeling a little better now though so here it goes:

What is it?

Due to the nature of my cancer, the treatment needs to get round the whole body including my brain in order to target any rogue cells floating around in my blood. In our neck, we have a protective defence which filters blood and minimises the risk of infection to the brain. This mechanism (the ‘blood brain barrier’) also prevents chemotherapy drugs from accessing the brain also.

In order to bypass this system, the doctor performs this procedure which applies the chemical into the spinal fluid which can then circulate into the brain effectively.

The Chemical and how it’s applied

Apparently, this method can also be used for some anaesthetic and other treatments, but in my case the chemical used was cytarabine.

I was asked to lie on the bench curled into a ball on my side. I had to bring my knees quite high and bunch my shoulders over. Explaining the procedure as she went, the doctor said that she’s aiming for the gap between my Lumber L2 and 3 vertebrae between the disc. The spinal column finishes at L1 and is then followed by a chain of nerve endings (like a horses tail) so the doctor is very careful and slow in order to avoid these. By curling up, the gap between the disc and vertebrae is opened up to make the targeting easier.

Once she had found the location and cleaned the area, the nurse applied the first needle which was an anaesthetic (a gentle scratch). She tested the area and I still had some sensation, so she applied a little more, I couldn’t feel the needle at this point.

The first step is to remove a small sample of fluid for testing. They try not to take too much as the release of pressure can be painful, so they just remove a couple of drops. Once this is done, she then applied the treatment which for me was 70g dissolved into a 3.5ml solution. Although being a small amount, she injected very slowly to minimise discomfort.

Once complete, a dressing was applied and I was slowly sent back to my bed. In order to help the chemical travel through my spinal column, I was asked to lay flat on my back for 30 minutes.

How did it feel?

The procedure was in fact pain free. I felt a bit of pressure as although I’m lean, there is still quite a way for the needle to travel. Otherwise and for the next hour or so, the only sensation I felt was a slight light headedness from lying still. After this, however, I did start to get a headache. I’m fairly prone to headaches and I get migraines so I was expecting a headache in some form, but this was one of the stronger types of headache in the realm of serious hangover or post migraine shock- it lasted for several hours and although I slept through it, it returned the next morning. It’s now gone after a period of about 12 hours.

Peripherally Inserted Central Catheter (PICC line)

What is it and when is it used?

The PICC line is a type of catheter which can last up to six months and is much better than having standard catheters which need to be replaced every 2-3 days.

The line comprises a thin tube which passes through a clamp and valve and enters the body through a large vein normally on the inside of the elbow. The tube follows this main vein underneath the bicep muscle through the shoulder joint around under the clavicle (the collar bone). It then travels down and stops just short of the heart.

How is it inserted?

I started with an anaesthetic cream applied to the entry location which would numb the veins (I’m left handed so asked for it to pass into my right arm). This was left for about 30 minutes. I was expecting there would be a a strange tickling sensation or even pain to this procedure. The needle was a little longer than a normal catheter needle but I barely felt this go in. Once the vein was found, the tube was gently pushed to the correct length. The nurse was fairly experienced and using marks on the tube she could gauge how far round it had gone. Once it had passed into my shoulder, she asked me to look down and to the right to help the tube pass downward at a branch in the neck. Once located, she tested the line to make sure blood could flow out and a saline flush could flow inwards. Then a dressing was prepared and applied and the valve was locked off.

PICC line inserted at right elbow.

As an additional safety check, I was sent to the x-ray department to check the tube was correctly located.

I asked to look at the x-Ray and although I could see the line, it was difficult with untrained eyes to follow it’s complete path.

I sometimes get a little nervous (perhaps more at the thought) of these procedures, but I can honestly say, they could have done this without me noticing. The only thing I felt was a slight pressure in my arm as the needle was inserted.

Since having the line in it’s been much more comfortable and flexible to live with and I can barely feel the intravenous chemicals passing through using this system when compared to the standard catheters.

Procedures – Bone Marrow Biopsy

Today I’ve had a bone marrow biopsy, I was a little nervous about this procedure as it’s fairly invasive in it’s nature and I expected some pain or discomfort. I’m fairly slim (apart from the growth in my bowel which makes me look like I have a beer belly!) which means that the bone in my hip where they have taken the sample is fairly close to the surface.

The reason for taking this sample is that as my form of cancer is related to white blood cells, there is a chance that the bone marrow has been infected. From this sample, they can asses how far these cells have migrated.

The nurses and Doctors were fairly reassuring and helped to explain each stage, but I thought I’d explain the procedure from my point of view. I should also add that experience will be different for different people so please talk to your specialist if you have any concerns.

step 1 – anaesthetic.

The anaesthetic is applied first to numb the area and the soft tissues that the biopsy needles will be passing through.

obviously the needle is fairly large as they need to insert one needle to puncture the bone then another to collect the sample. The anaesthetic is applied using a needle which gives a sharp scratch. Due to the amount of tissue between the skin surface and the bone, this needle is quite long and as it went in and as the liquid was injected I found this a little uncomfortable, but this discomfort was probably more tolerable than I would expect from a dentist.

step 2 – bone marrow aspirate

this first step is to extract a sample of fluid from the bone marrow. From me they took 2 vials (the same as for blood tests). The sample is taken with a long needle which passes straight into your bone. Being a long distance runner, my bones are fairly hard which means the needle took a lot of effort to puncture the bone. The first part as it passed through the tissue was fairly pain free and when it reached the bone the discomfort was tolerable. Rather than a stinging sensation, it felt more like a numb throb as I felt the pressure on my hip and the liquid drain. The nurse explained that sometimes as the pressure is released there can be a bit of discomfort, which I experienced as a numb throbbing perhaps warm sensation.

at this point, the nurse also prepared some slides so that the liquid can be assessed under the microscope. What he’s looking for here is lumps of bone marrow which can sometimes be mixed in with the blood.

Slides, samples and biopsy.

step 3 – trephine biopsy of bone marrow

This final stage is to collect a plug of bone marrow for further testing. As mentioned before, my bones are fairly hard which means that this process was a little uncomfortable for me. Sometimes this can be performed with a small hand drill but talking to the nurse, he preferred to make the cut by hand as the drill can be a little too rough and also can give poor samples. This next needle is slightly larger than the first and is pushed through the skin using a slight and gentle turning motion to get through to the bone. The bone is then cut by turning the needle and pushing at the same time to collect the sample. The sample is taken through the tube and pulled out in one piece as a plug. (A bit like uncorking a bottle of wine!) From my experience, although a little uncomfortable, and lasting slightly longer, this was no more unpleasant than the first procedure. And I will honestly say that having teeth removed is much more uncomfortable.

Biopsy needle
Biopsy needle

step 4 – dressing and healing

Once complete, the nurse applied pressure to stop the bleeding and applied a dressing. I was advised to sit for a few minutes to assist with the pressure. The procedure was performed about 2 hours ago as I write this and although I can feel that I have a wound, the pain is no more than a dull sensation in my hip and a bit of stinging on the skin, which could easily be where hairs are trapped in the dressing adhesive!

so in summary, the procedure is about 15-20 minutes long, and although uncomfortable, I will be much less nervous going into the second assessment after my first phase of Chemo.

Procedures – a catheter

I thought I’d talk about some of the procedures that I’ve so far been through and explain a little about what they’re used for, why and more importantly what it feels like.

Today, I’d like to talk about the Catheter, anyone who’s been in hospital for a few days will have experienced these, but for me it’s a fairly new experience.

What is it?

Top of wrist

Top of wrist

A catheter is a small tube with a valve that is inserted into a vein usually below the elbow.

they can be placed at any point, usually where the larger veins are, in my experience (I’ve had about 8 inserted over the last couple of weeks) I prefer them to be in the forearm as it’s easier to write and shower than when it’s in the wrist or elbow.

They’re inserted using a needle which is relatively pain free (a small scratch) which is then removed leaving a tube in place. It is secured using a waterproof adhesive label, although this sometimes need replacing after a shower.

Underside of forearm

What does it do?

A catheter is used to apply fluids (I’m currently hooked up to a saline drip to make sure my bladder is fully flushed through ready for treatment) it can also be used to apply medicines such as ‘intravenous paracetamol’ which is more potent and fast acting than tablet form. It can also be used for taking blood samples rather than having to puncture the skin several times.

What are the side effects/downsides?

Sometimes if they’re inserted or removed a little quickly they can bruise is the skin as a little blood is let out under the skin. Otherwise, I’ve experienced no worrying or painful experiences, the medical nurses apply these regularly and can help with any concerns.

Bruise from removal from a small vein.

The downside to these kind of catheters is that they need to be removed every two to three days as they can begin to get clogged up and uncomfortable. Between each application of fluid, the nurse will flush the line with fluid to reduce this risk, but as a precaution, and for the ease of the nursing staff during a long term stay, they may decide to insert a PICC line or a Hickman line. I’ll be having one of these inserted tomorrow, so I’ll tell you how it goes 🙂

Saline solution
Saline solution